 Glissvia


Glissvia / Connection guide
Connection & everyday use
Start here, then choose a connection route. The Mac must remain awake and online.
iPhone with iOS 27 or later and a Mac with Screen Sharing enabled. Audio and file transfer are not included. Remote typing supports BMP characters; use explicit paste for emoji. Tailscale setup may require network administrator approval.
01 / GLISSVIA
Prepare your Mac
Mac setup is shared by both connection routes.
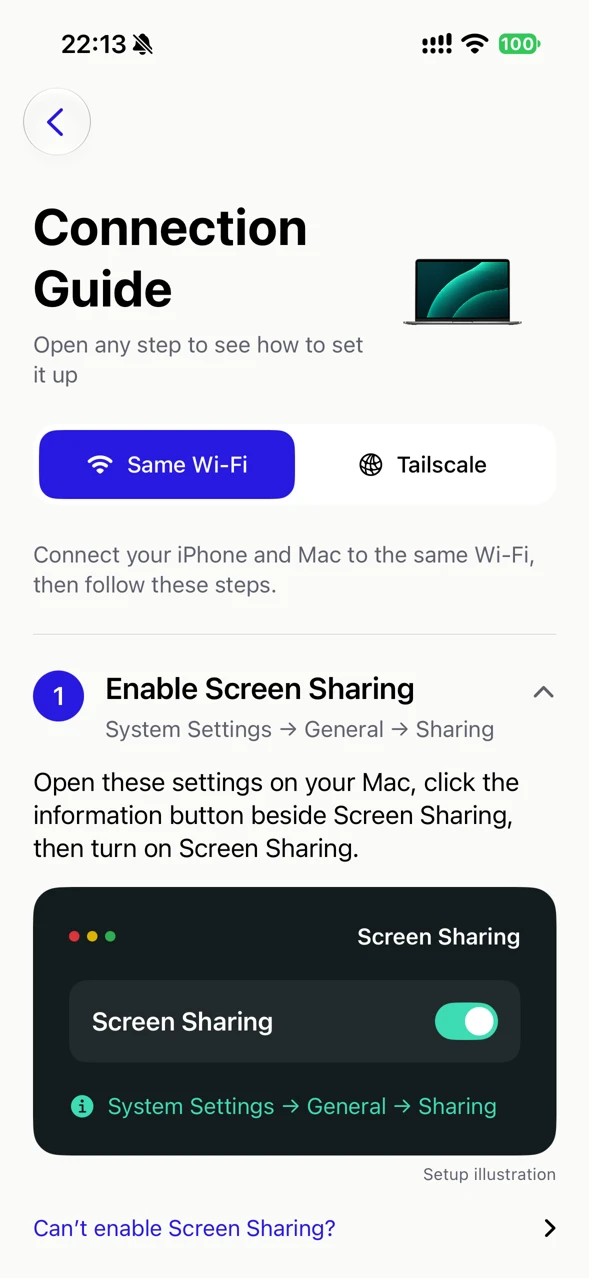
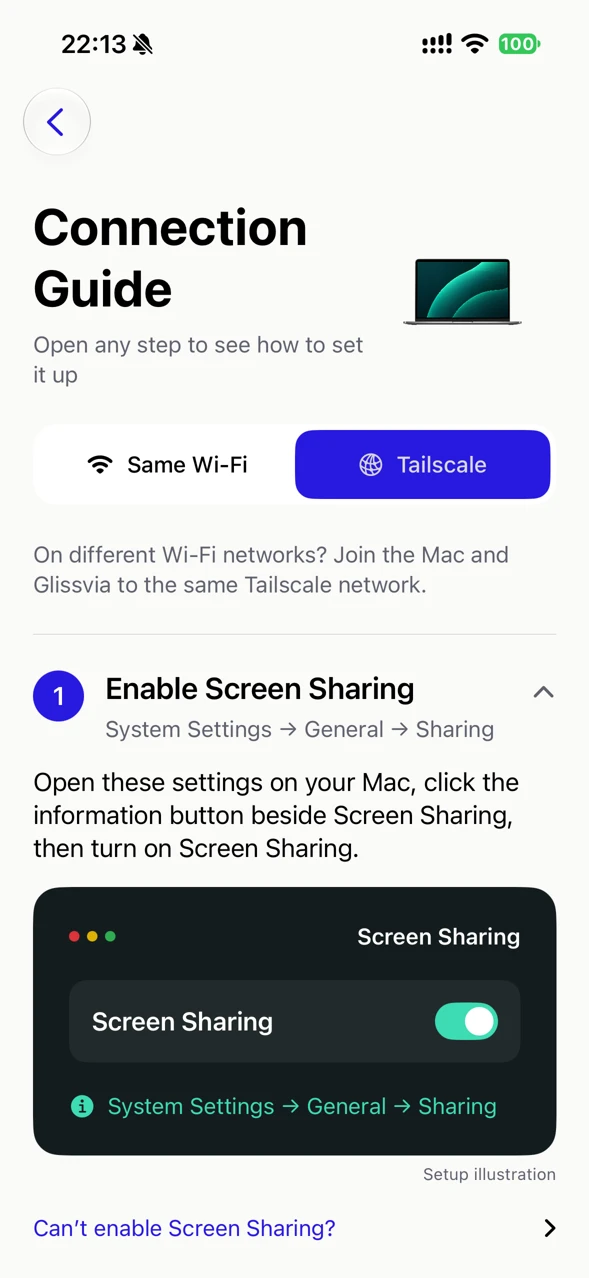
Enable Screen Sharing
System Settings → General → Sharing
Open these settings on your Mac, click the information button beside Screen Sharing, then turn on Screen Sharing.
If Remote Management is on, turn it off before enabling Screen Sharing. They cannot be enabled together.
Allow Account Access
In Screen Sharing settings, set Allow access to Only these users. Click the plus button, select your Mac account, then click Select and Done.
Then use this Mac account to sign in through Glissvia.
How do I find the Mac short username?
Open Terminal on your Mac, type whoami and press Return. The result is the short username of the signed-in account.
02 / GLISSVIA
Same Wi-Fi / LAN
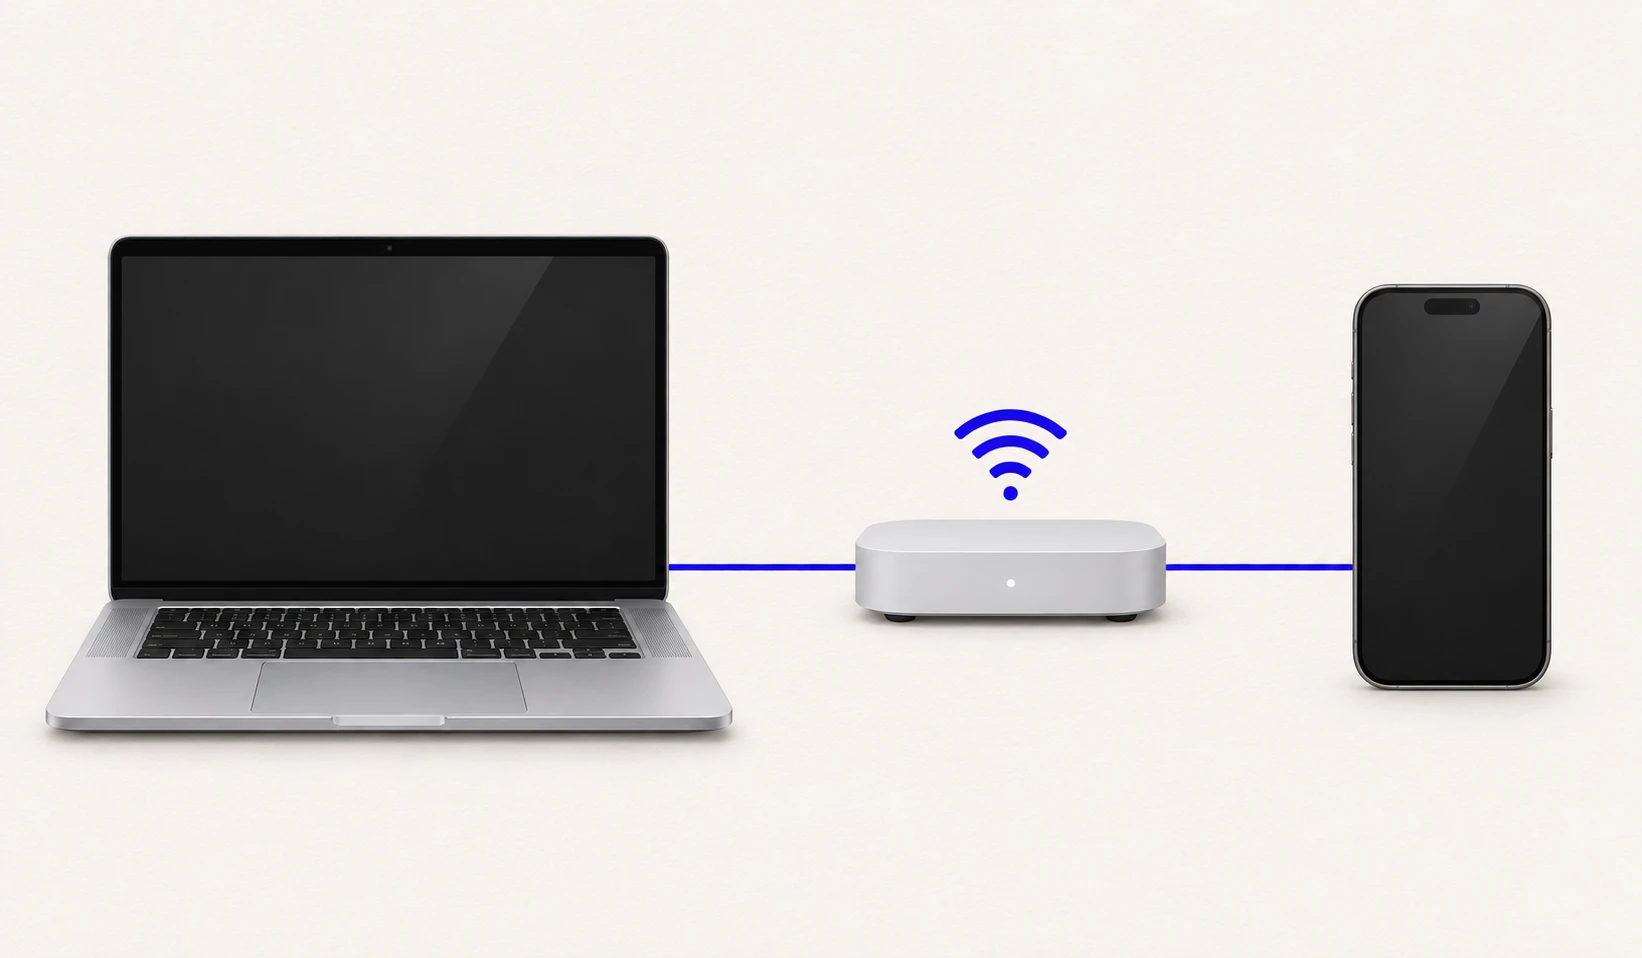
Connect the iPhone to the same trusted local network as the Mac. A Mac connected by Ethernet can work when both devices can reach each other. Guest Wi-Fi or client isolation may prevent this. Allow Glissvia’s Local Network permission when iOS asks.
Find the Mac IP Address
Mac: System Settings → Wi-Fi → Details for the current network. Find the IP address.
Add a Connection
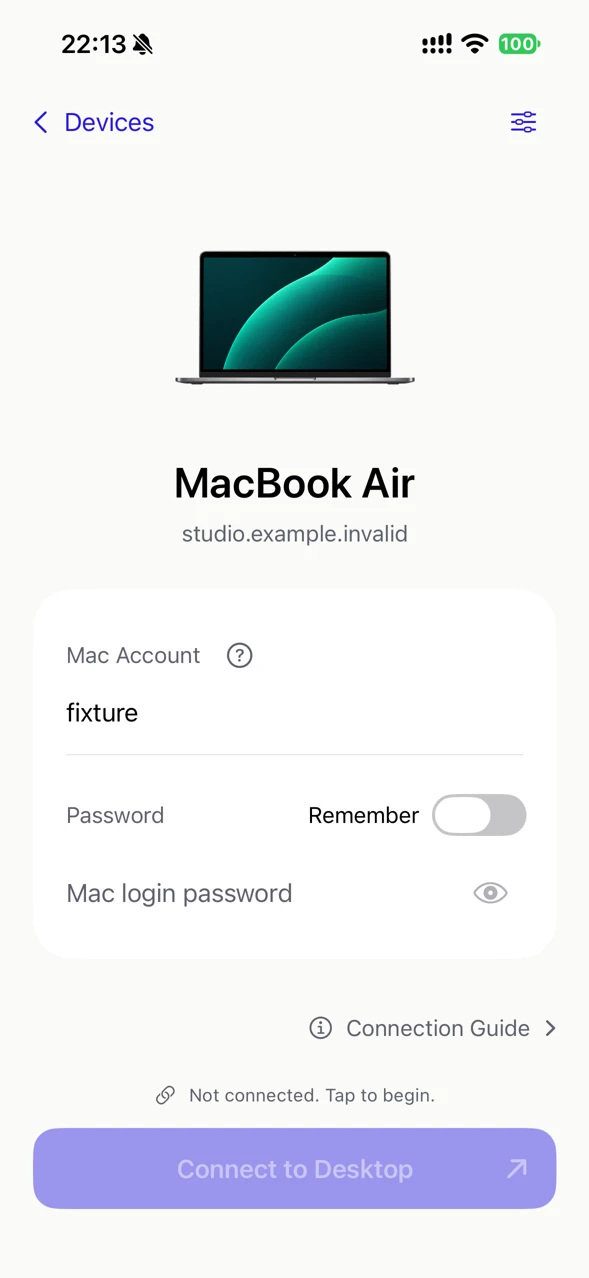
Glissvia: Devices → Add Mac → Enter Address Manually. Enter the IP address and Mac short username, save the connection, then select this Mac.
Connect with Your Mac Account
Enter the authorized Mac short username and login password, then connect. Use the Mac account, not an Apple ID or Tailscale account.
Keep the default port 5900 unless your Mac configuration explicitly requires another port. Enter the Mac address, not a web URL.
03 / GLISSVIA
Connect with Tailscale
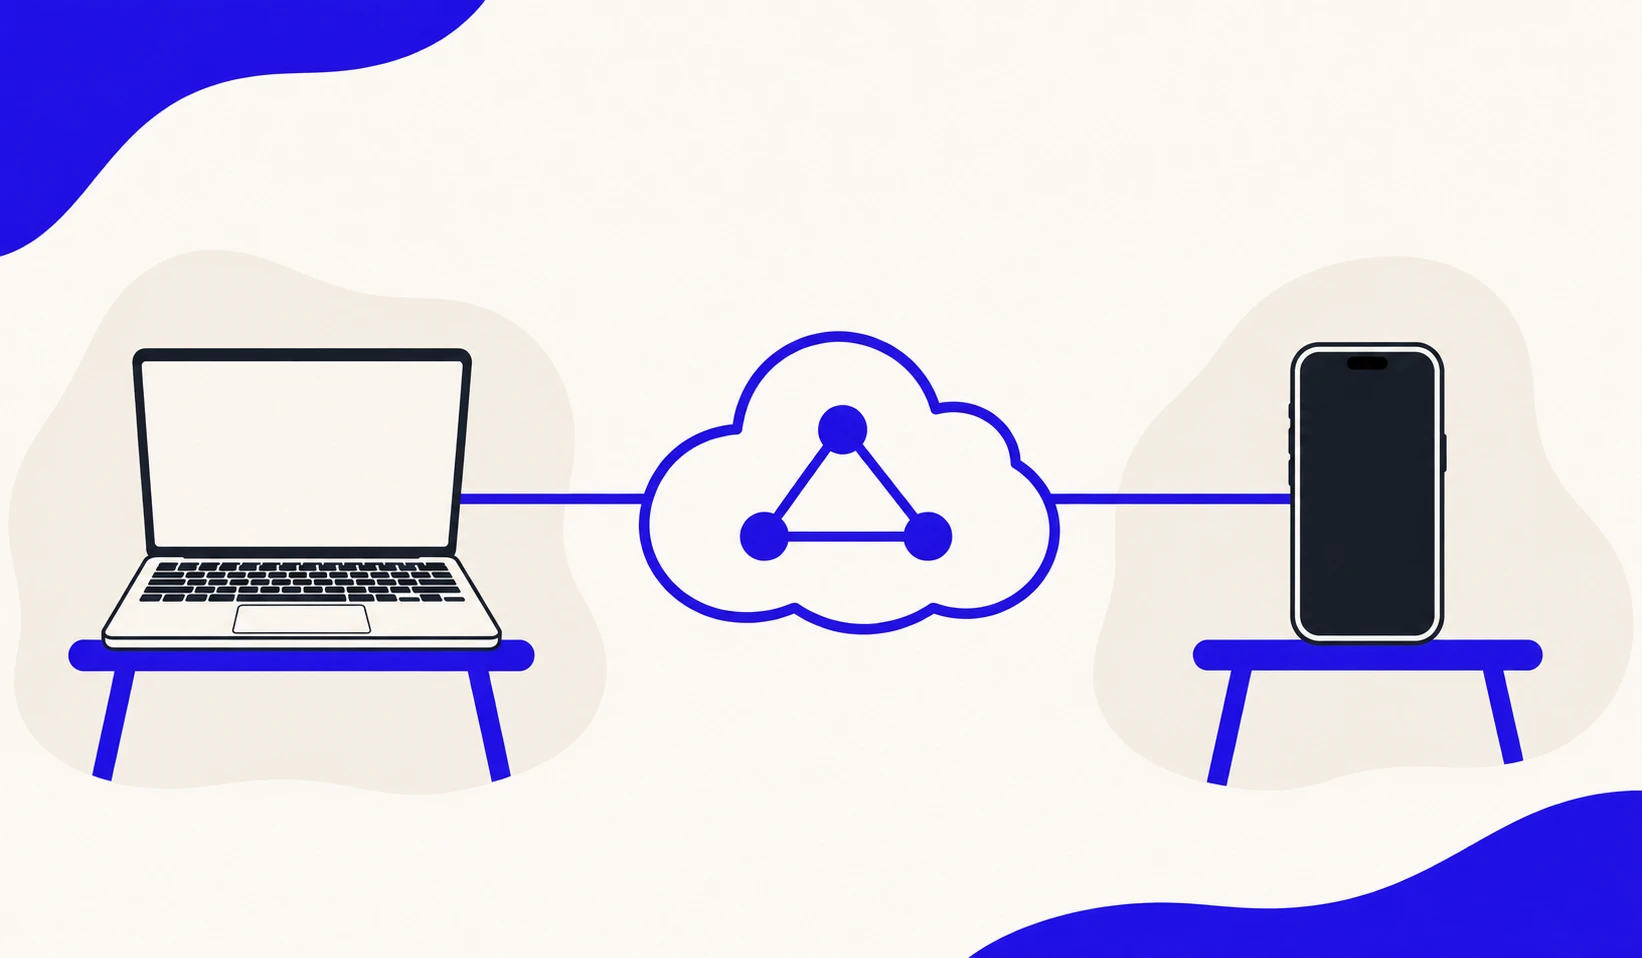
On different Wi-Fi networks? Join the Mac and Glissvia to the same Tailscale network.
Install on Mac
On your Mac, open tailscale.com/download and install Tailscale for macOS.
Follow the Authorization Steps
Open Tailscale and follow the prompts to enable its network extension. Choose Allow when asked to add a VPN configuration.
macOS 15 or later: System Settings → General → Login Items & Extensions → Network Extensions. Enable Tailscale and complete system verification. On earlier versions, follow Tailscale’s setup prompts.
Sign In & Stay Connected
Click Tailscale in the Mac menu bar and sign in. Check that it is connected. Keep your Mac on, online and awake.
Sign In through Glissvia
Devices → Add Mac → Add via Tailscale → Sign in to Tailscale. Use the same account and network as the Mac. Your iPhone does not need a separate Tailscale app.
Choose Your Mac
Select the Mac in the device list, then tap Continue. If it is missing, check that Tailscale is connected on the Mac and both devices use the same network.
If approval is pending, ask the network administrator to approve the device before continuing.
Connect with Your Mac Account
Enter the authorized Mac short username and login password, then connect. Use the Mac account, not an Apple ID or Tailscale account.
04 / GLISSVIA
Use Glissvia
View, touch & pointer
After connecting, tap a target to click. Pinch to zoom. Use the interaction mode descriptions below: direct touch and pointer mode have different scrolling gestures.
Touch directly by default. For small targets, pinch to zoom before tapping.
One finger to scroll · Two to pan · Pinch to zoom
For precision and hovering. Move the pointer with one finger, scroll Mac content with two, and pinch to zoom.
View the entire Mac screen
Tap or swipe down to collapse. Tap the bottom arrow to expand again.
Keyboard & shortcuts
Open the keyboard from the desktop toolbar. First select the target text field on the Mac, then complete the ABC preparation. The phone keyboard does not automatically appear when you tap a remote text field.
Select an input field on the Mac, then try switching. If ABC is still not selected, choose it in the Mac’s input menu, then tap Start Typing.
Try Switching sends Control–Space to the Mac. Whether it selects ABC depends on the Mac’s shortcut settings.
Choose keys to send shortcuts. Swipe horizontally for more. Tap active modifier keys again to release them before typing.
The Mac is using secure input. Regular typing is paused. Leave secure input and confirm ABC again to continue.
Clipboard
Open the keyboard menu for text clipboard actions. For iPhone → Mac, copy text on the iPhone, focus the Mac destination and choose paste. For Mac → iPhone, copy on the Mac first, then choose copy to iPhone. Accept the iOS paste permission if requested.
Text moves only when you choose. It does not sync automatically.
Finish a session
End Remote Session
Disconnect and return to your devices
Screenshots illustrate the app; macOS setting names can vary by system version.
Before you connect
Do I need to install an app on my Mac?
No Glissvia companion app is required. Enable the built-in macOS Screen Sharing service and allow the Mac account you will use.
Which account and password should I use?
Use your Mac’s short username and Mac login password, not your Apple Account email and password. Saving the password in Glissvia is optional and off by default.
Can I connect from another network?
Optional built-in Tailscale can connect to a visible Mac peer in your own tailnet. Set up and sign in to Tailscale on the Mac, then sign in in Glissvia. Network policy may require administrator approval.
What if the Mac does not connect?
Check that it is awake and online, Screen Sharing is enabled, and your account has permission. On Wi-Fi, confirm both devices are on the same network. For Tailscale, confirm the Mac is visible and online in your tailnet.
Can I type and copy text?
Use the iPhone keyboard and Mac shortcuts. Before direct typing, select ABC on the Mac and confirm in Glissvia. Text clipboard actions are explicit in both directions; emoji use paste. Audio and file transfer are not included.